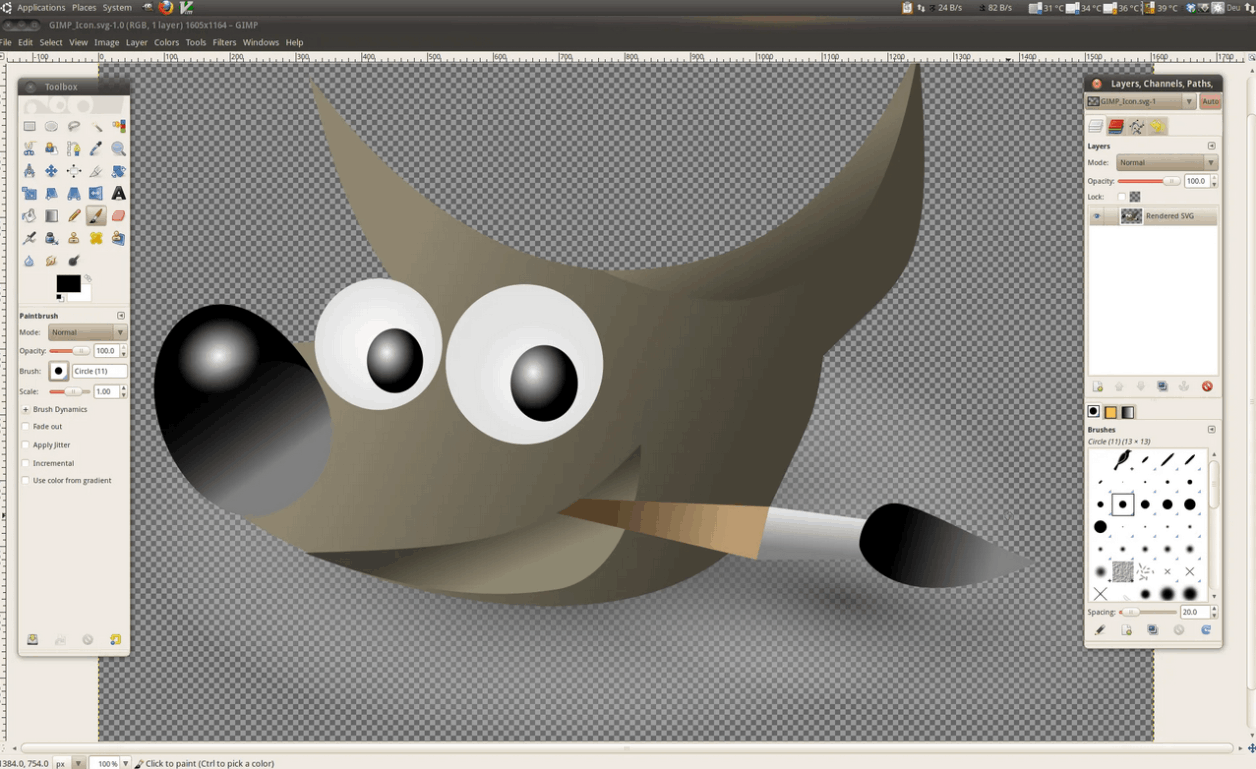
GIMP Layer Tricks
Layers are the backbone of any GIMP project, allowing for non-destructive editing. Understanding how to manipulate them efficiently can drastically improve your workflow. Whether you're blending images or adding text, mastering layers is essential.
One of the most useful features is layer masks in GIMP. They let you hide or reveal parts of a layer without permanently deleting pixels. This is perfect for seamless photo composites or gradual transparency effects. Experiment with black and white brushes on masks for precise control.
Another powerful tool is layer grouping. If your project has dozens of layers, organizing them into groups keeps everything tidy. Simply right-click in the Layers panel and select "New Layer Group." This is especially helpful for complex illustrations or multi-step edits.
Blending modes in GIMP can transform your artwork. Modes like "Multiply" darken, while "Screen" lightens—ideal for adjusting exposure or creating lighting effects. Try different combinations to see how they interact with your layers.
For quick adjustments, use adjustment layers in GIMP. These let you modify brightness, contrast, or hue without altering the original image. If you change your mind later, just tweak the adjustment layer instead of starting over.
Need to align objects perfectly? GIMP’s alignment tool works with layers too. Select multiple layers, then use the alignment options in the Tool Options panel. This is great for designing logos, posters, or social media graphics.
Finally, don’t forget layer opacity. Lowering opacity can create subtle overlays, faded textures, or ghosted effects. Combined with blending modes, this opens endless creative possibilities in GIMP.
